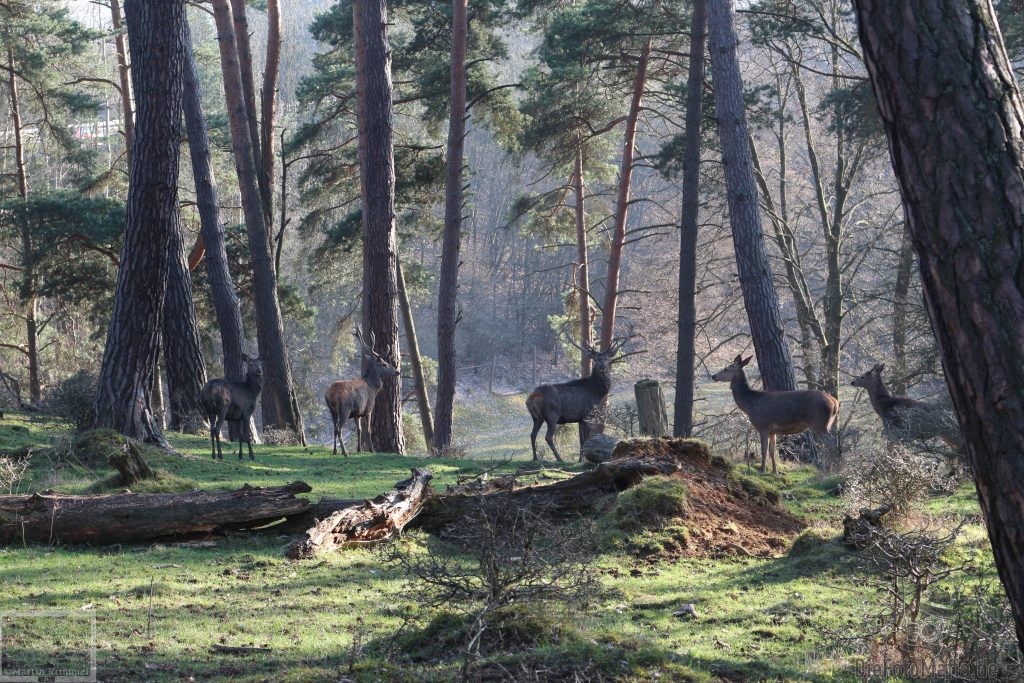
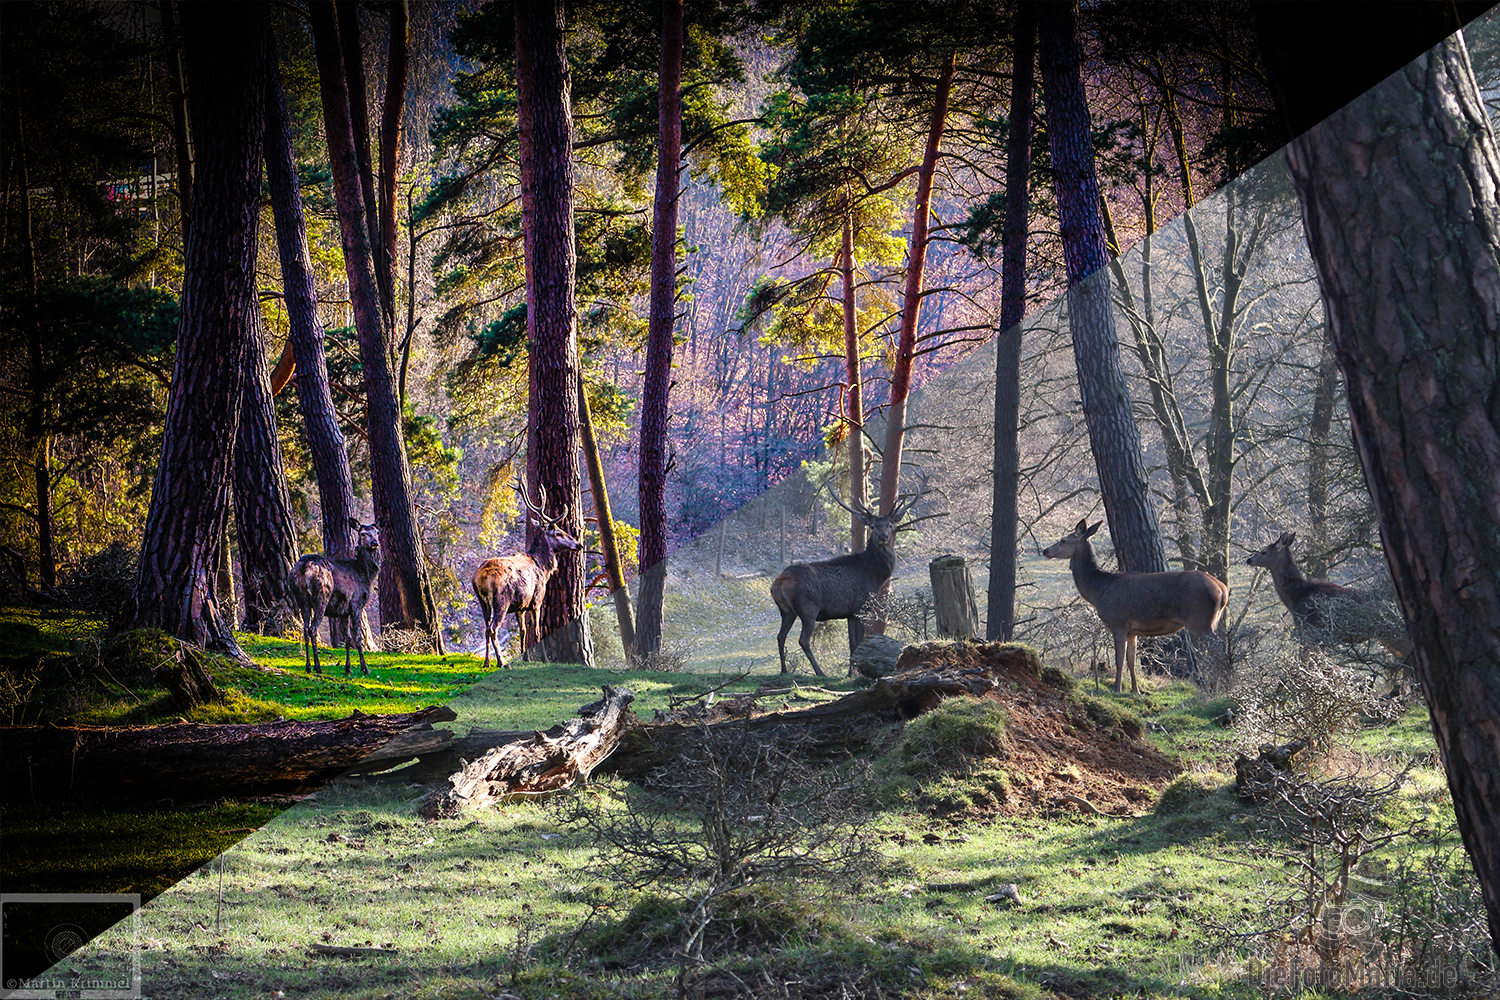
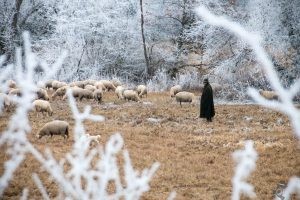
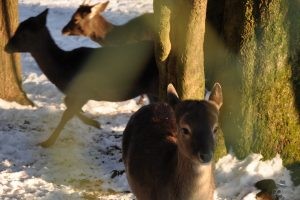
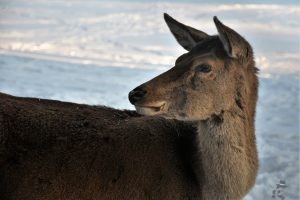
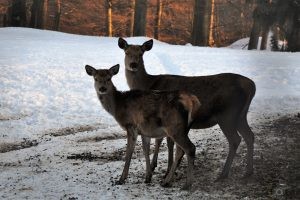
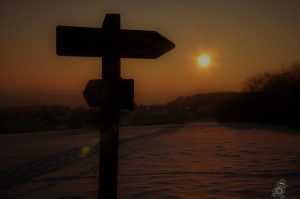
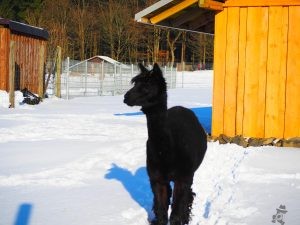
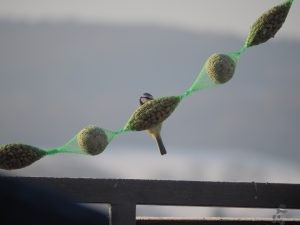
[:de]Die Aufnahme entstand im Frühling 2014 mit der Canon EOS 700D und dem Canon 18-55mm Kit-Objektiv bei 55mm Brennweite, Blende 5.6, 1/80 sec.
Das frühlingshafte, leicht dunstige Licht erbrachte eine flache Aufnahme ohne viele Kontraste und Farben und machte also eine Nachbearbeitung erforderlich. Leider war diese Aufnahme nur als JPG gespeichert, was die Optionen etwas einschränkte.
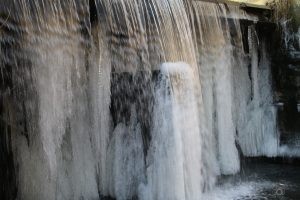
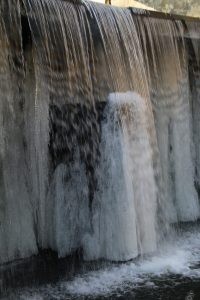
Vorher:
 Erforderliche Schritte in Adobe Lightroom:
- Zuerst wendet man die Objektivkorrekturen für das entsprechende Objektiv an (hier „Canon 18-55…“). Meist reichen die Standardeinstellungen.
- Danach verbessert man bei Bedarf die Grundeinstellungen:
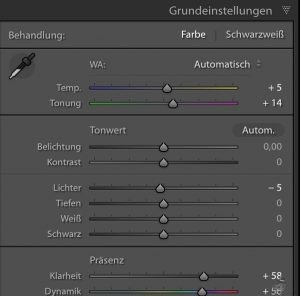
- Hier sind besonders die Farbtemperatur und der Tonwert wichtig (kaltes Winterlicht erfordert meist eine Optimierung in Richtung des wärmeren Spektrums).
- Danach kann man durch Anheben von Klarheit, Luminanz und Sättigung die Details hervorheben.
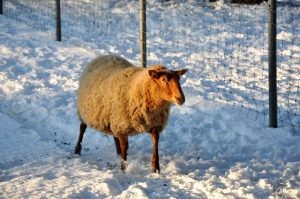
- Mit dem Korrekturpinsel (z.B. mit Maske auf den einzelnen Tieren) kann man einzelne Bereiche optimieren. Hier war vor allem die Belichtung (vor allem Lichter/Tiefen) anzuheben.
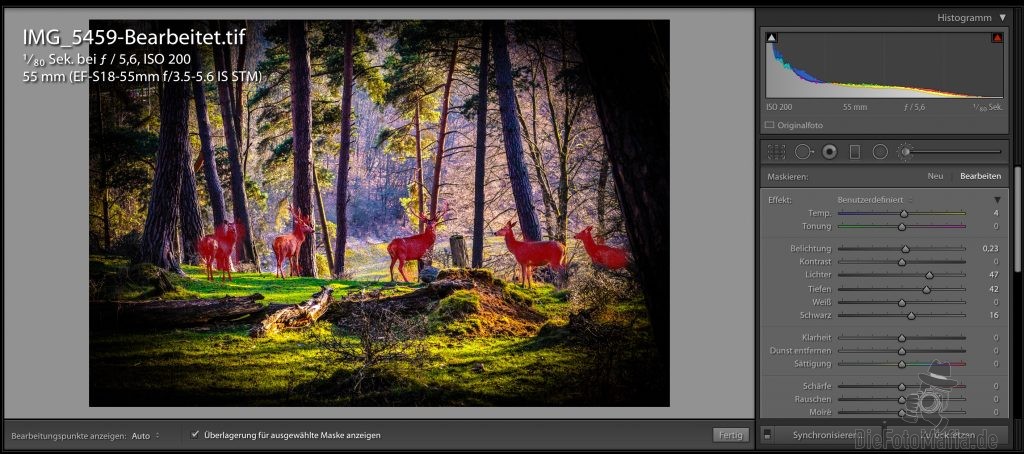
- Mit dem Effektfilter „Dunst entfernen“ kann man je nach Geschmack noch weiter experimentieren.
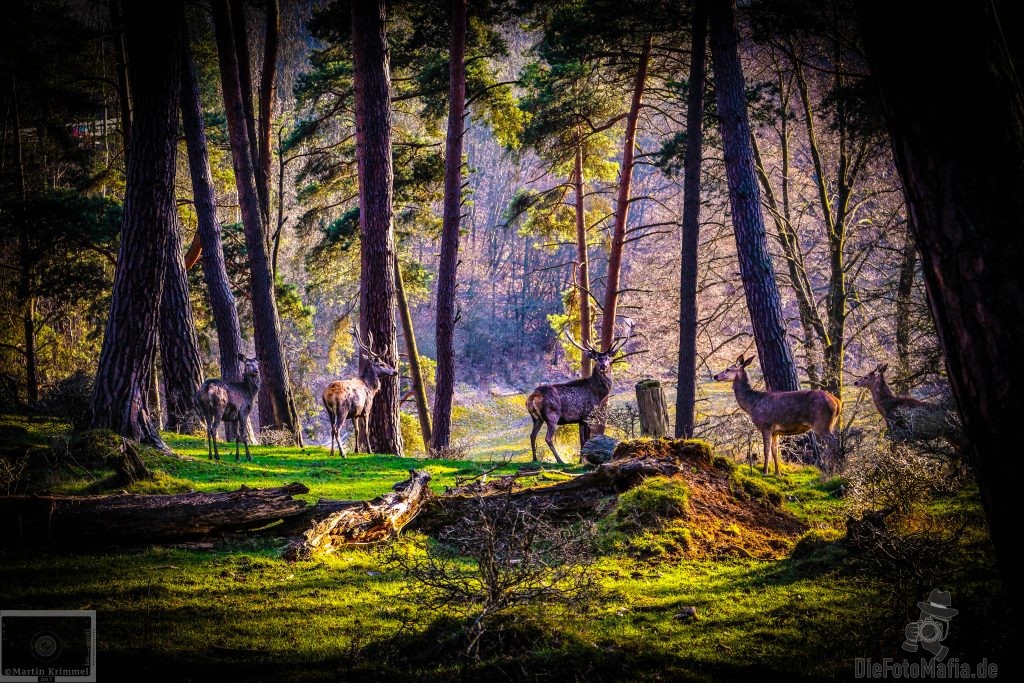
- Durch das Hinzufügen einer Vignette (manuell per „Effekte“, je nach Geschmack) wird der Blick auf das Wesentliche gelenkt.
Zusätzliche Korrektur in Photoshop
- Mit dem Bereichsreparaturpinsel kann in Photoshop o.ä. nun noch der Zaun im Hintergrund „entfernt“ werden.
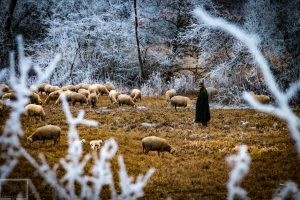
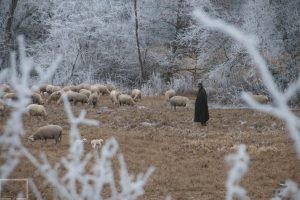
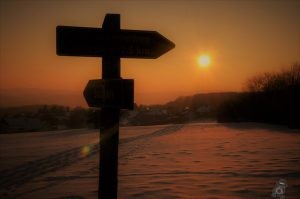
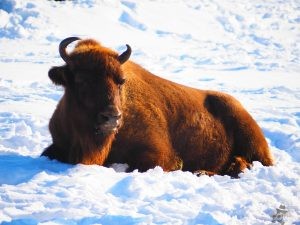
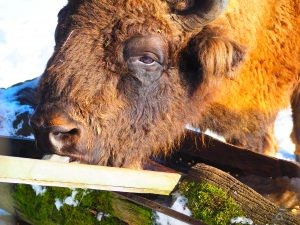
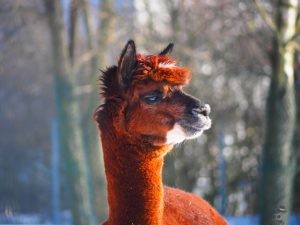
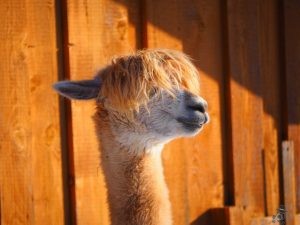
Und hier das Ergebnis:
 [:en]The image was shot in spring 2014 with my Canon EOS 700D and the Canon 18-55mm Kit-lens at 55mm, aperture 5.6 and 1/80 sec.
The spring-like, misty light yielded only a flat image without too much contrast and colors and called for some image editing.
Unfortunately, I had only stored the image as a JPG thus slightly limiting my options.
Before:
 Steps required in Adobe Lightroom:
- First, apply the lens corrections for the respective lens (here „Canon 18-55…“). Typically, the defaults will be OK.
- Then, improve the basic settings as required:

- Here, the emphasis was put on the hue and color temp (cold winter light typically requires an optimization towards the warmer spectrum).
- Afterwards, you can increase the clarity, luminance and saturation to emphasize the details.
- Use the correction brush (e.g. with a mask on the individual animals) to optimize individual sections. This especially required increasing the light and dark tones).

- Optionally use the effect filter „Remove mist“ to experiment according to your taste.
- By adding a vignette manually via the Effects the view is directed to the relevant elements.
Additional editing in Photoshop
- Use the section repair brush to optionally „remove“ the fence in the background.
And here’s the result:
 [:]
[:]

 [:]
[:]


 [:]
[:]
 [:]
[:]



 [:]
[:]



 [:]
[:]